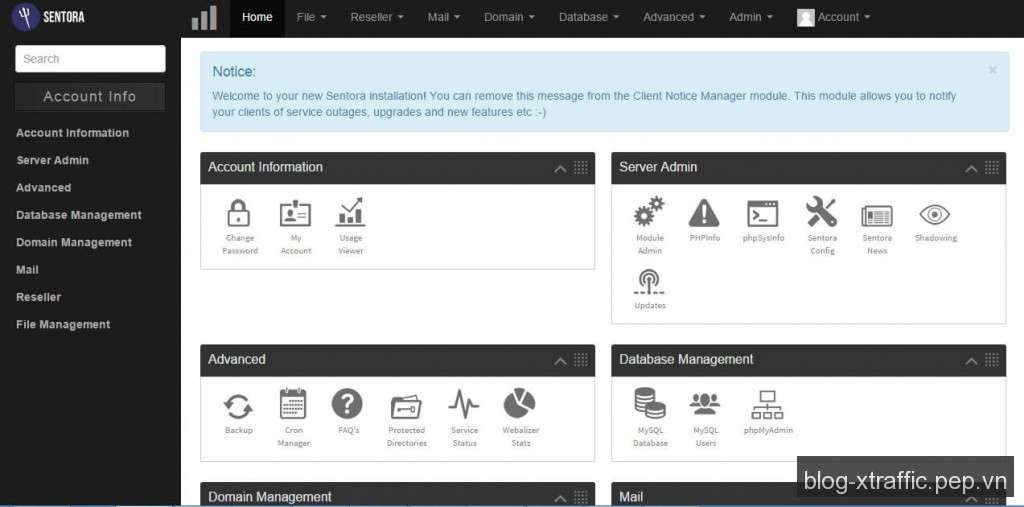
Sentora là web hosting control panel tương tự như cPanel giúp bạn quản lý web server dễ dàng và trực quan. Trong bài này, xTraffic.pep.vn sẽ hướng dẫn bạn cách cài đặt Sentora web hosting control panel trên Linux thông qua ssh

Những tính năng chính của Sentora web hosting control panel
- Open-source : GPL v3 license
- Multi-client environment
- Quota management
- Integrate with the API
- Resellers
- Technologies :
- Apache HTTPd
- PHP
- ProFTPd
- MySQL/MariaDB
- Postfix
- Dovecot
- Website : http://sentora.org/
Cách cài đặt Sentora web hosting control panel
Để cài đặt được Sentora theo hướng dẫn này thì bạn cần phải có :
- VPS hoặc Server có 512MB RAM trở lên chạy hệ điều hành Linux
- Quyền đăng nhập VPS bằng tài khoản root
Sau khi đăng nhập vào VPS bằng SSH, bạn thực hiện các lệnh sau :
sudo wget --no-check-certificate -O ./install-beta http://sentora.org/install-beta
sudo chmod +x install-beta
sudo ./install-beta
Trong lúc cài đặt, Sentora sẽ hỏi bạn location và timezone của VPS, nếu bạn ở Việt Nam thì nhập số 5 (Asia – Châu Á), sau đó nhập số 49 để chọn Việt Nam :
Preparing to select timezone, please wait a few seconds...
Please identify a location so that time zone rules can be set correctly.
Please select a continent or ocean.
 1) Africa
 2) Americas
 3) Antarctica
 4) Arctic Ocean
 5) Asia
 6) Atlantic Ocean
 7) Australia
 8) Europe
 9) Indian Ocean
10) Pacific Ocean
11) none - I want to specify the time zone using the Posix TZ format.
#? 5
Please select a country.
 1) Afghanistan           18) Israel                35) Palestine
 2) Armenia               19) Japan                 36) Philippines
 3) Azerbaijan            20) Jordan                37) Qatar
 4) Bahrain               21) Kazakhstan            38) Russia
 5) Bangladesh            22) Korea (North)         39) Saudi Arabia
 6) Bhutan                23) Korea (South)         40) Singapore
 7) Brunei                24) Kuwait                41) Sri Lanka
 8) Cambodia              25) Kyrgyzstan            42) Syria
 9) China                 26) Laos                  43) Taiwan
10) Cyprus                27) Lebanon               44) Tajikistan
11) East Timor            28) Macau                 45) Thailand
12) Georgia               29) Malaysia              46) Turkmenistan
13) Hong Kong             30) Mongolia              47) United Arab Emirates
14) India                 31) Myanmar (Burma)       48) Uzbekistan
15) Indonesia             32) Nepal                 49) Vietnam
16) Iran                  33) Oman                  50) Yemen
17) Iraq                  34) Pakistan
#? 49
Lúc này, Sentora sẽ hiển thị giờ của Việt Nam để xác nhận lại thông tin, bạn nhấn số 1 (Yes) để tiếp tục :
The following information has been given:

        Vietnam

Therefore TZ='Asia/Ho_Chi_Minh' will be used.
Local time is now:      Fri Dec 26 13:06:37 ICT 2014.
Universal Time is now:  Fri Dec 26 06:06:37 UTC 2014.
Is the above information OK?
1) Yes
2) No
#? 1
Tiếp theo, Sentora sẽ yêu cầu bạn nhập subdomain cho trang quản trị của Sentora, bạn sẽ sử dụng subdomain này để quản lý và cấu hình VPS của bạn. Trong ví dụ này, mình chọn subdomain là “panel.pep.vn” :
=== Informations required to build your server ===
The installer requires 2 pieces of information:
 1) the sub-domain that you want to use to access Sentora panel,
   - do not use your main domain (like domain.com)
   - use a sub-domain, e.g panel.domain.com
   - or use the server hostname, e.g server1.domain.com
   - DNS must already be configured and pointing to the server IP
       for this sub-domain
 2) The public IP of the server.


Enter the sub-domain you want to access Sentora panel: panel.pep.vn
Sau đó Sentora sẽ xác nhận lại địa chỉ IP của VPS/Server của bạn, nếu đúng thì bạn chỉ cần nhấn “Enter” để tiếp tục :
Enter (or confirm) the public IP for this server: 28.11.216.29
Nếu bạn gặp cảnh báo như bên dưới thì cũng không có vấn đề gì, lỗi này là do bạn chưa trỏ subdomain “panel.pep.vn” vào địa chỉ IP của VPS, bạn chỉ cần nhấn “y” để tiếp tục cài đặt rồi sau đó trỏ subdomain vào VPS sau :
WARNING: panel.pep.vn is not defined in your DNS!
  You must add records in your DNS manager (and then wait until propagation is done).
  For more information, read the Sentora documentation:
   - http://docs.sentora.org/index.php?node=7 (Installing Sentora)
   - http://docs.sentora.org/index.php?node=51 (Installer questions)
  If this is a production installation, set the DNS up as soon as possible.

There are some warnings...
Are you really sure that you want to setup Sentora with these parameters?
(y):Accept and install, (n):Change domain or IP, (q):Quit installer? y
Sau bước này, Sentora sẽ tự động cài đặt hết cho bạn, bạn chỉ việc ngồi đợi khoảng 10 phút để Sentora thực hiện xong.
Khi xuất hiện thông tin sau, bạn cần copy và lưu lại tại nơi an toàn để sử dụng sau này, đây là thông tin rất quan trọng bao gồm username và password của admin, của MySQL,… (bạn cũng có thể tìm thấy các thông tin này tại tập tin “/root/passwords.txt” :
########################################################
 Congratulations Sentora has now been installed on your
 server. Please review the log file left in /root/ for
 any errors encountered during installation.

 Login to Sentora at http://panel.pep.vn
 Sentora Username  : zadmin
 Sentora Password  : vqfTIjCIzSb956Kx

 MySQL Root Password      : lCHpzHcwH3sdvdxM
 MySQL Postfix Password   : afMQrj2fFIbs0fbo
 MySQL ProFTPd Password   : yBGZdsHRr3Chdq5m
 MySQL Roundcube Password : poyotqsXGNnZjFk8
   (theses passwords are saved in /root/passwords.txt)
########################################################

Restart your server now to complete the install (y/n)? y
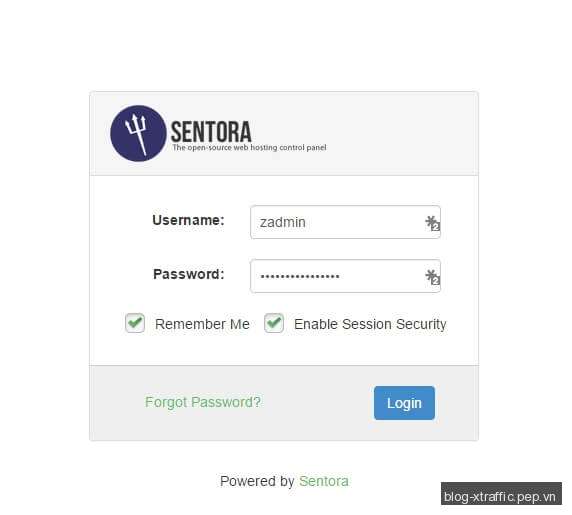
Bạn nhấn “y” để khởi động lại VPS/server, sau khi VPS/server khởi động xong (tầm 1 phút), bạn truy cập vào http://panel.pep.vn (thay bằng subdomain tương của bạn) để đăng nhập vào trang quản trị của Sentora tương tự như hình bên dưới :


Sau khi cài đặt xong, các phần mềm của sẽ sử dụng khoảng 159764KB (khoảng 156MB) RAM.
